入り口
ホームページが移動しました。
自動的に新しいホームページへ移動しますのでお待ちください。
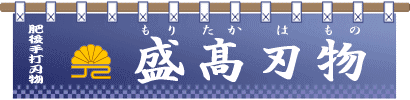
肥後手打 盛高鍛冶刃物のホームページ
1秒後にトップページへ移動します。
移動しない場合は下のボタンを押して下さい。
入り口
700年の伝統と職人技の結晶
刀匠・金剛兵衛源盛高の造る本物の切れ味をお試し下さい
包丁、ナイフをメインにその他様々な刃物を製造販売しています
またホームページ上では盛高刃物が造る包丁の製造工程、盛高刃物の技術、盛高刃物の歴史等もご紹介しております
盛高鍛冶刃物